
P R A I S E H A N D S
This little project has been SO much fun ... learning a new skill, studying techniques, asking for tips from friends and family. In fact, I hope this blog post can be a place where we can all share information and tips/tricks/hacks!
Many of you have reached out to me saying that you either have a machine already or that you would love to have one. I'll cover what I've learned in the week or so that I've had mine up and running, and I will also pass along some must-haves that I've discovered so far.

first column:
second column:
third column:
First up: the machine!
I have a Brother SE-400. This is a smaller and lower-priced embroidery machine. It's not inexpensive in the least, but there are machines out there for hundreds and hundreds of dollars more. Brother has a very good reputation in the embroidery machine world and, so far, the machine has been incredibly user-friendly.
What tools will I need to begin?
Really just the basics! Some embroidery thread, bobbin thread, some small-tipped embroidery scissors (a pair came with my machine), and stabilizer. What's stabilizer? Well, you know that white net-type fabric you see on the underside of your monogrammed items? That is stabilizer. It helps keep your fabric firm and stable when being embroidered. I use the sticky kind that you can adhere your fabric or ribbon directly to when preparing to embroider.
My sister (who has the same machine as me) recommended the 20 prewound bobbins to me, and boy, they sure are convenient. I've been buying my thread spool by spool thus far, but it's over $3/spool that way, so I just need to get this 40 spools embroidery thread package and be done with it. This thread holder holds 60 spools and can stand up or be mounted to your wall.
At the advice of a snapchat friend of mine, I did end up switching to the 90/14 needles (these) because they are a little thicker of a needle and stronger when dealing with thick letters to embroider.
How do I get the "pretty" fonts on my fabric?
This is the fun part. The machine I have actually comes with 5 fonts already on it, but they are pretty basic and do not include that pretty rounded-off monogram style you may be interested in. Fonts can be purchased online (Etsy has a great selection, like this!) and downloaded immediately to your computer. From there, you will use some type of embroidery software -- I use one called Embrilliance -- to create your design. At this point, I save the design to my desktop, plug my laptop into the embroidery machine using a specific cord, and upload my completed design to the machine.
I then position the hoop holding the fabric and get everything lined up, double-checking each part. Then you just hit a button on the machine and let it work its magic! You do have to keep an eye on it for the most part to make sure that all is going smoothly. The thread can jam up (this has totally happened to me), the top thread or bobbin thread can run out, etc. -- so you will want to be there to pause or stop the embroidery if need be.
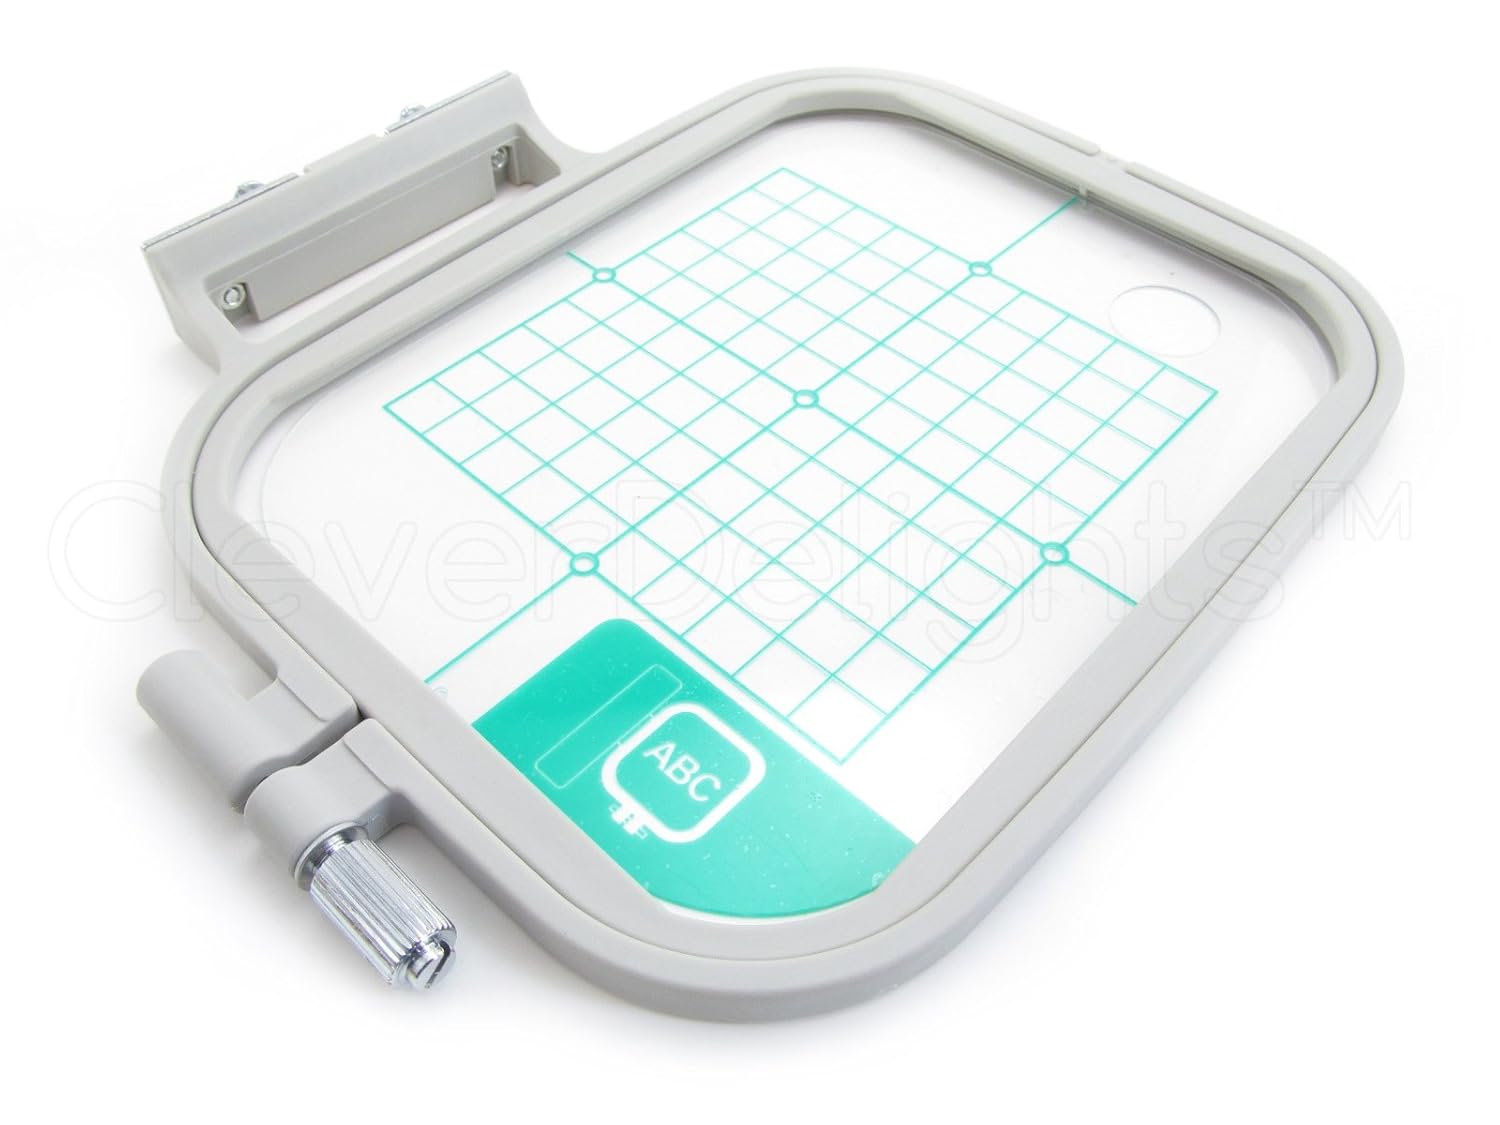
When it's done stitching, you will remove your fabric from the hoop (shown below) and trim any excess threads to neaten the monogram up.
An informational YouTube channel that I've found to help out with this machine is Burley Sew and you can find him HERE (yes, it's a guy who narrates the videos!). For example, he shows how to thread the machine in this video. YouTube has actually been a super helpful tool with teaching me the ins-and-outs of this machine and also troubleshooting, like recently when I had a big thread jam.
So far this machine has been such a great way for me to add embroidery to my Tipsy Bunny hairbows that I make! It makes them so much more personalized and special.
So far this machine has been such a great way for me to add embroidery to my Tipsy Bunny hairbows that I make! It makes them so much more personalized and special.

I also look forward to being able to personalize some of the girls' items like t-shirts and shorts with a cute little monogram or applique (that's my next step to conquer).
So now I'd love to turn it over to you. Do you have any questions? Machine owners, do you have any advice or tricks of the trade? If someone asks a question below that you fellow stitchers can answer, please jump right in to answer! I hope that we can get a fun little discussion going below on monogramming at home. :)


I have a friend that has a monogram machine and she sells the most beautiful items,I've been wanting to give it a try but I'm not at all crafty.
ReplyDeleteIs it as complicated as it looks?
For me, certain parts were complicated at the beginning (getting the hang of Embrilliance, threading the machine) and now they are so easy. I think that's the cycle of how it will go ... harder at first, then very natural.
DeleteI received the Brother PE770 two Christmases ago (I was too intimidated to use it at first) and I love playing around with it! So far I've only done baby items for my daughter, nephew, and friends' new babies. I use Embrilliance as well and love the feature where you can watch the program stitch the pattern on your computer the way the machine will on your fabric. It helps to see when I'll need to change out my thread or add a new appliqué fabric. It's still trial and error for me, I learned you definitely need a sheet of stabilizer on top of a towel you are monogramming, preferably the wash-away kind, so the thread does not get lost in the pile. Can't wait to read others' advice here!
ReplyDeleteOh lawd I could write a book! It's not the most difficult thing, but if not done correctly, it can make you want to commit yourself.
ReplyDeleteHere's my main things:
- buy nice thread (the packages of multi thread generally aren't that great, unless they are a NAME brand: sulky, brother, coat & clark)
- save yourself the hassle & buy prewound bobbins
- Sticky, tear away stabilizer is the only option
- Embrilliance has a FREE software option, but you will only be able to edit Bx format files, so make sure what you purchase is what you need (otherwise you'll have to edit on the machine, and that's a pain).
- New file? Test on something of the same weight & fabric type so you can see how it will stitch out
- Use youtube! It's a lifesaver
- If using a cord from your machine to computer, make sure you don't try to move things or have your computer go to sleep during the process bc you're error out
- Any file you are about to stitch, save it first onto you machine so that if something happens (power goes out, etc), you can pull up the design you had going and it will have all the same properties (size, location, etc).
Hope that helps someone! :)
Yes girl - ALL the praise hands! (& way to go Mama!) This machine is my current goal so I'm saving this post right away! Thanks for sharing! Xo
ReplyDeleteMy favorite tip I've learned is using a bread knife to cut through thread when it nests under your design. Life changer!
ReplyDeleteI was just thinking of saving up for one! Love the posts and all the tips so far :)
ReplyDeleteYour article is really amazing. It contains all the content which I was searching related to birthday gift embroidery. Great article!embroidery digitizing
ReplyDeletei like your thinking and article about sewing or home Sewing really good work....
ReplyDeleteThis comment has been removed by the author.
ReplyDelete